You just bought a Linux VPS.
The welcome email landed in your inbox: an IP address, a root password, and a blinking cursor waiting for commands you don’t yet know.
Excitement meets that quiet, nagging dread.
What if I break it?
What if someone hacks it before I even finish setting it up?
I know that feeling. The gap between buying a VPS and actually using it is where most beginners get stuck.
A proper VPS server setup guide isn’t about memorising commands. It’s about knowing the exact sequence that turns a naked server into a locked‑down, live website in under half an hour.
Over the next few minutes, I’ll walk you through each step. No lectures, no fluff. Just the practical, copy‑paste workflow that I use myself to secure a Linux VPS and get a real site running with HTTPS.
By the time you finish, that terminal won’t feel like a loaded gun. It’ll feel like a tool you control.
Quick Summary: Your 10‑Step Setup Checklist
If you just want the skeleton, here it is. Each step is detailed below with copy‑paste commands and the “why” behind it.
- Connect via SSH to your server
- Create a sudo user and disable root login
- Set up SSH key authentication and turn off password login
- Enable the UFW firewall (allow only SSH, HTTP, HTTPS)
- Run system updates and install fail2ban + automatic security patches
- Set the timezone to IST and bring the system fully up‑to‑date
- Install Nginx (or Apache) as your web server
- Obtain a free Let’s Encrypt SSL certificate and enforce HTTPS
- Set up basic monitoring with htop, df, and Netdata
- Schedule automated backups with tar and cron
If you haven’t picked a VPS provider yet, look for Linux VPS hosting solutions that give you full root access and servers located near your audience. For Indian traffic, a Mumbai or Chennai data centre can mean the difference between a snappy site and a sluggish one.
Prerequisites
- A Linux VPS with Ubuntu 24.04 LTS installed. (Bisup’s Linux VPS hosting solutions offer one‑click Ubuntu deployments from an Indian location.)
- A domain name pointed to your server’s public IP address (you can still follow along using the IP alone).
- A terminal application: Terminal on Mac/Linux, or PowerShell / Windows Terminal / PuTTY on Windows.
- About 25 minutes of focused time.
Step 1: First SSH Login – Connect and Prepare
How do I log into my VPS for the first time?
Open your terminal and type:
ssh root@your_server_ip
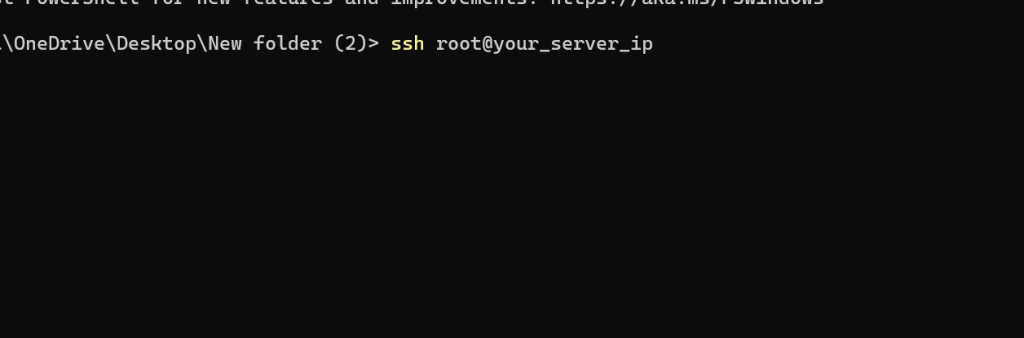
Replace your_server_ip with the address from your provider’s welcome email. On first connect, you’ll see a fingerprint warning—type yes to trust it. Then enter the root password.
Heads‑up: Logging in as root directly over the internet using only a password is dangerous. Automated bots scan for open SSH ports 24/7 and hammer them with common passwords. Before we do anything else, we’ll create a safer user account and switch away from root.
Right now, you’re “connected via SSH” to your bare server. It’s just you, a blinking cursor, and a world of possibilities.
Step 2: Create a Sudo User and Disable Root Login
Should I use the root user on my VPS?
No—not for day‑to‑day work. The root account has unlimited power.
One accidental rm -rf and your entire server is gone. Instead, we’ll create a regular user who can temporarily borrow root powers via sudo .
Run these commands one by one (replace Yourname with your chosen username):
sudo adduser yourname

You’ll be asked for a password and some optional info. Press Enter to skip the details.
Now grant administrative rights:
usermod -aG sudo yourname

Switch to the new user to test it:
su – yourname

Try a privileged command to confirm:
sudo whoami

It should return root after you enter the user’s password.
Now, lock the front door: disable root SSH login. Edit the SSH daemon configuration:
sudo nano /etc/ssh/sshd_config

Find the line #PermitRootLogin prohibit-password (or PermitRootLogin yes ), remove the comment # , and change it to:
PermitRootLogin no

Save ( Ctrl+O , Enter ) and exit ( Ctrl+X ). Restart the SSH service:
sudo systemctl restart ssh

Do not log out yet. Keep this window open; we haven’t set up key‑based authentication, and you still need access.
Step 3: SSH Key Authentication – Lock the Door Properly
How to set up SSH key login (Windows & Mac)?
Passwords are crackable. SSH keys, on the other hand, are nearly impossible to brute‑force. You generate a pair: a private key (kept secret on your laptop) and a public key (uploaded to the server). Even if a bot has your IP, it can’t get in without your private key.
On your local machine (not the VPS), open a new terminal and run:
ssh-keygen -t ed25519 -C “your_email@example.com“

Press Enter to save in the default location. Add a passphrase for extra security (optional but highly recommended).
Now copy your public key to the server:
For Mac/Linux users:
ssh-copy-id -i ~/.ssh/id_ed25519.pub yourname@your_server_ip

For Windows PowerShell users (since ssh-copy-id is not built in, use this one‑liner):
type $env:USERPROFILE\.ssh\id_ed25519.pub | ssh yourname@your_server_ip “mkdir -p ~/.ssh && cat >> ~/.ssh/authorized_keys”

Enter your user’s password when prompted. After this, try logging in with the key:
ssh -i ~/.ssh/id_ed25519 yourname@your_server_ip

You should be in without a password. Once you’ve confirmed it works, disable password authentication on the server for good:
sudo nano /etc/ssh/sshd_config

Change or add this line:
PasswordAuthentication no

Then restart SSH:
sudo systemctl restart ssh

Now your VPS is immune to password‑guessing attacks.
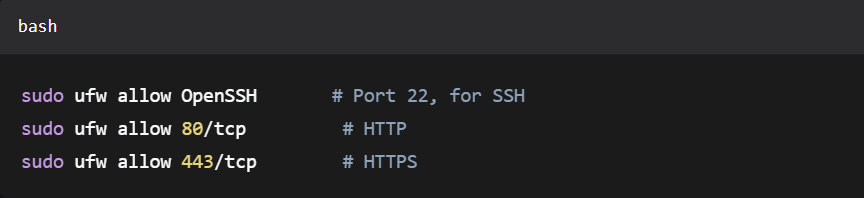
Step 4: UFW Firewall – Allow Only the Essentials
How do I secure my VPS with a firewall?
A firewall acts as a gatekeeper, allowing only specific traffic. Ubuntu’s built‑in UFW (Uncomplicated Firewall) makes this dead simple.
First, check its status:
sudo ufw status

It’s probably inactive . Let’s allow the services we need:
sudo ufw allow OpenSSH # Port 22, for SSH
sudo ufw allow 80/tcp # HTTP
sudo ufw allow 443/tcp # HTTPS
Now turn it on:
sudo ufw enable

Type y to confirm. Check that it’s running:
sudo ufw status

You’ll see the three allowed rules. Everything else is blocked. If you ever install extra services (like MySQL on port 3306), you’ll need to explicitly open those ports.
UFW vs. iptables: Under the hood, UFW still writes iptables rules, but it gives you a much friendlier syntax. For a beginner, UFW is the right tool.
Step 5: Fail2ban and Automatic Security Updates
How to protect my VPS from brute‑force attacks?
Firewall rules won’t stop someone from repeatedly trying to log in via an allowed port. Fail2ban scans your logs for repeated failed login attempts and temporarily bans the offending IP.
Install it:
sudo apt update
sudo apt install fail2ban -y

Fail2ban comes with a sensible default jail for SSH, so it starts working immediately. To enable it and make sure it’s running:
sudo systemctl enable fail2ban
sudo systemctl start fail2ban

Check its status:
sudo fail2ban-client status sshd

You’ll see the active jail and any banned IPs.
Now, let’s make sure your server stays patched without you remembering to run
apt update every week. Install unattended upgrades:
sudo apt install unattended-upgrades -y
sudo dpkg-reconfigure –priority=low unattended-upgrades

Select “Yes” when prompted. This automatically applies security updates, greatly reducing the window of known vulnerabilities. Together with fail2ban, it’s the “set‑and‑forget” security baseline every new VPS deserves.
Step 6: System Updates and Indian Timezone
Before we move to the web layer, let’s bring the system up to date and set the correct timezone—especially important if your audience and log timestamps are India‑based.
sudo apt update && sudo apt upgrade -y

Then set the timezone to IST:
sudo timedatectl set-timezone Asia/Kolkata

Now your server logs will match local business hours, making troubleshooting far easier. It’s a tiny detail, but one that shows real‑world consideration for an Indian user.
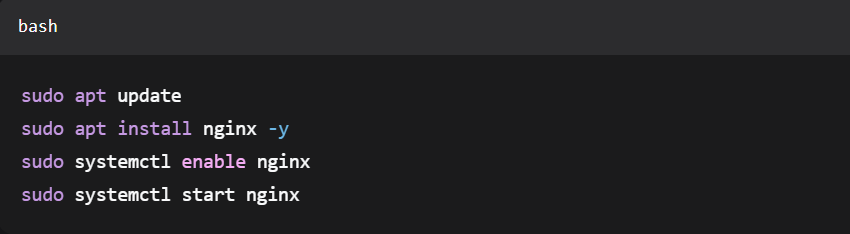
Step 7: Install a Web Server (Nginx or Apache)
Which web server should I install on my Linux VPS?
For most modern use cases, Nginx is the default choice. It’s lightweight, fast, and excels at handling many concurrent connections. If you need Apache’s .htaccess files for legacy apps, you can opt for that instead—but this guide uses Nginx.
Install Nginx:
sudo apt update
sudo apt install nginx -y
sudo systemctl enable nginx
sudo systemctl start nginx
Now open your browser and enter your server’s IP address. You should see the “Welcome to nginx!” page. That’s your first public sign of life.
Nginx vs. Apache (quick comparison)
| Feature | Nginx | Apache |
| Performance under high traffic | Excellent | Good (with tuning) |
| Configuration syntax | Clear, block‑based | Directory‑based .htaccess |
| Memory usage | Low | Moderate |
| .htaccess support | No | Yes |
| Best for | Static content, reverse proxy | Shared hosting compatibility |
If you’re building a WordPress site or a custom Node.js app, Nginx will serve you perfectly.
Step 8: Free SSL with Let’s Encrypt
How to get a free SSL certificate on a VPS?
Websites without HTTPS are marked “Not Secure” by browsers, and rightfully so. SSL/TLS encrypts all data between your visitors and your server. Thanks to Let’s Encrypt, you can get a trusted certificate for free.
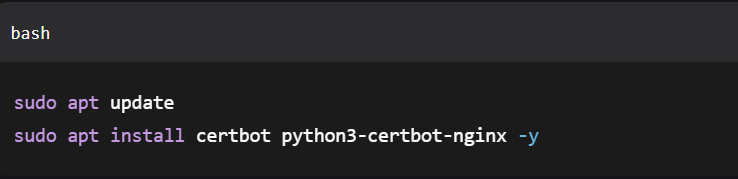
Install Certbot and its Nginx plugin:
sudo apt update
sudo apt install certbot python3-certbot-nginx -y
If you’ve already pointed your domain to the server’s IP, get your certificate with:
sudo certbot –nginx -d yourdomain.com -d www.yourdomain.com

Follow the prompts. Certbot will automatically fetch the certificate, configure Nginx to use it, and redirect all HTTP traffic to HTTPS. Renewal is handled automatically via a systemd timer. You can test it with:
sudo certbot renew –dry-run

Now your site has the padlock, and your visitors’ data is safe.
Step 9: Basic Monitoring – Know Your Server’s Health
How do I monitor my VPS performance?
You don’t need complex dashboards to keep an eye on things. Three commands give you 90% of what you need:
htop # Interactive process and CPU/memory usage (install with sudo apt install htop -y)
df -h # Disk space usage
free -m # RAM and swap usage

Run these occasionally to spot a memory leak or a ballooning log file before it causes an outage. For a prettier, always‑on web dashboard, install Netdata:
sudo apt install netdata -y

By default, Netdata listens on localhost (127.0.0.1), so the dashboard is only accessible from within the server itself, no extra firewall rules needed. That’s exactly what we want for security. If you ever need remote access, open the port explicitly with sudo ufw allow 19999/tcp and consider adding authentication.
Step 10: Automated Backups – Because Data Loss Hurts
How to back up my VPS automatically?
Even the most hardened server can suffer from accidental deletion, hardware failure, or a determined intruder. A simple backup script and a cron job will save you months of work.
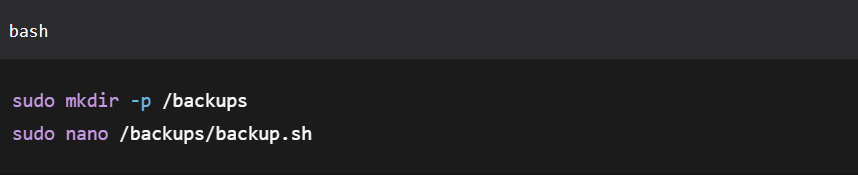
Create a directory for backups and a script:
sudo mkdir -p /backups
sudo nano /backups/backup.sh
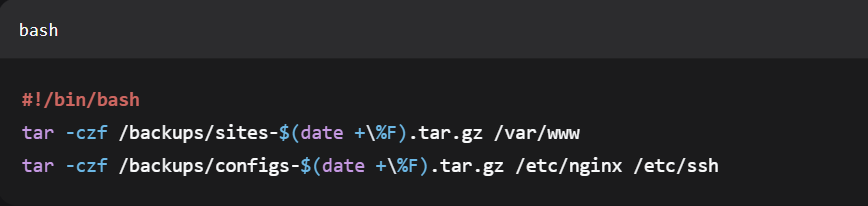
Paste a minimal example (adjust paths as needed):
#!/bin/bash
tar -czf /backups/sites-$(date +\%F).tar.gz /var/www
tar -czf /backups/configs-$(date +\%F).tar.gz /etc/nginx /etc/ssh
Make it executable:
sudo chmod +x /backups/backup.sh

Schedule it to run daily at 2 AM via cron:
sudo crontab -e

Add the line:
0 2 * * * /backups/backup.sh

For off‑server safety, you can later add an rsync command that pushes these archives to cloud storage or another Bisup VPS. The core habit, however, starts right here.
Advanced (Optional): Docker and Nginx Proxy Manager
Many Indian developers quickly want to host multiple apps—WordPress, a Node.js API, a React frontend—on a single VPS. Docker and Docker Compose package each app into its own container, avoiding dependency conflicts. Add Nginx Proxy Manager and you get a friendly web UI for SSL certificates and reverse proxying without touching config files.
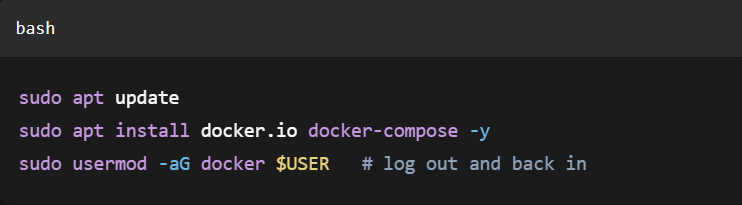
A quick start:
sudo apt update
sudo apt install docker.io docker-compose -y
sudo usermod -aG docker $USER # log out and back in
Then deploy Nginx Proxy Manager in a docker-compose.yml . It’s not in our beginner scope, but know that your secure VPS foundation makes this next step trivial.
Why Your VPS Location in India Actually Matters
If your audience is predominantly Indian, hosting on an India‑located VPS directly improves user experience:
- Latency: A server in Mumbai or Chennai can serve a page in under 20 milliseconds for a Bengaluru visitor; a server in Europe adds 120–180ms. That’s the difference between a site that feels instant and one that feels sluggish.
- Data sovereignty: Keeping personal data within Indian borders aligns with the IT Act and upcoming data protection regulations.
- Local support and payments: When something breaks at 11 PM IST, you want support that’s awake and the ability to pay in INR via Rozarpay or UPI without a foreign transaction fee.
Bisup’s Linux VPS hosting solutions are built with exactly these needs in mind. Full root access, NVMe storage, and 24/7 local support mean you can follow this guide verbatim and get a server optimised for Indian traffic.
Frequently Asked Questions
What is the first thing I should do after getting a Linux VPS?
Change the default root password (if provided), create a sudo user, enable a firewall, and set up automatic security updates—exactly the steps we covered above.
Can I install WordPress on my VPS?
Yes. Once your web server (Nginx/Apache) and database (MySQL/MariaDB) are installed, you can download WordPress. We’ll be publishing a separate guide on that soon, but the server you’ve just built is ready for it.
How do I install cPanel on a VPS?
cPanel requires a paid license and is typically used on managed servers. For a free, beginner‑friendly control panel, consider HestiaCP or aaPanel. Both run well on a 1‑GB VPS and provide a graphical interface for managing websites, email, and databases.
What is the difference between a VPS and shared hosting?
Shared hosting puts hundreds of websites on one server and restricts what software you can run. A VPS gives you a private, isolated slice with full root access, you control the operating system, packages, and security. If you’re planning to host multiple client websites but don’t want the responsibility of managing a full server, a reseller hosting plan is often a simpler starting point. It’s like renting a flat vs. owning a piece of land — with a middle option where you manage the tenants without maintaining the building.
How do I point my domain to my Bisup VPS?
Log in to your domain registrar, go to the DNS management panel, and create an A record pointing @ (and www ) to your VPS IP address. DNS changes can take up to 48 hours to propagate globally, but it’s often much faster in India.
Do I need a control panel to manage a VPS?
Not at all. The command line gives you complete control and uses fewer resources. But if you prefer a visual interface, free panels like HestiaCP or CloudPanel can be installed in minutes on top of this setup.
Is it safe to run a website without a firewall?
Definitely not. Without a firewall, any service listening on a port is exposed to the internet. Our UFW setup ensures only SSH, HTTP, and HTTPS are reachable from outside.
How do I upgrade my Bisup VPS plan later?
Bisup allows vertical scaling from your client area. If you need more CPU, RAM, or disk space, you can upgrade your Linux VPS hosting plan with minimal downtime—contact support and they’ll guide you through it.
Your Server Is Ready. What’s Next?
You started with a blank VPS and a root password. You now have a secure, monitored, and backed‑up server running Nginx with SSL—all achieved through deliberate, best‑practice commands. That’s the foundation for everything else: a personal blog, a high‑traffic business site, or a custom app.
From here, you might:
- Install MySQL and PHP to host dynamic sites.
- Set up a staging environment for your developers.
- Automate deployments using Git.
Whatever you build, you’ve eliminated the most common beginner security pitfalls before they could ever hurt you.
If you’re still evaluating hosting options, explore Bisup’s Linux VPS hosting solutions with India‑based data centres, full root access, and support that speaks your timezone, you’ll have the ideal launchpad for your next project.
Ready to launch? Deploy your Linux VPS on Bisup today and experience hosting that’s fast, local, and backed by experts. Contact Us Today!